Mirrored Patterns Tutorial #2
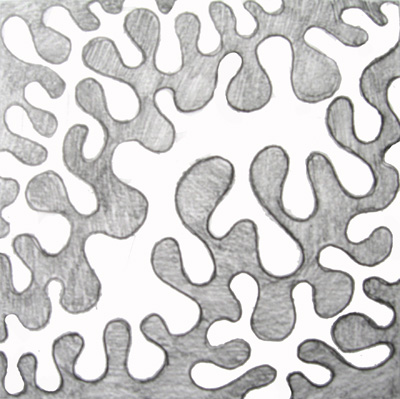
I was thinking that my previous post (see Project 1) for the “mirror project” might have been confusing. So I wanted to add some info that might make things a little clearer. Here is the original small sketch I did for the work you see more fully developed on the Project 1 page.

I used pencil on a small sheet of paper…about 3.5″ square to make this sketch, although a black marker is really a better drawing tool to use for this project.
I then scanned the small sketch into my computer. Using Photoshop, I made a mirror image and combined 4 of them together (2 direct copies and 2 mirrored copies) as you would tiles. This page from my skecthbook shows how the 4 tiles match up to form a larger tile. This is the design motif I used to create the more complicated images I have posted.

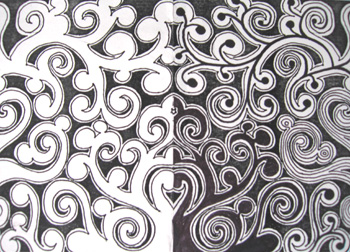
It is also possible to make positive and negative images of a mirrored pattern which can add interest and complexity to a design. This image graphically shows how the original motif is flipped and reworked.

You can e-mail me for more instructions on this project if it is still unclear. Good luck as you give it a go.